I really believe that if you’re going to become excellent at anything, from baking to baseball, you’ve got to be willing to try new things and make some mistakes. My success and confidence in the kitchen has come from years of practice and experience and yes, I’ve had my share of failures. As Einstein said, ‘anyone who has never made a mistake has never tried anything new.’ This is how we learn.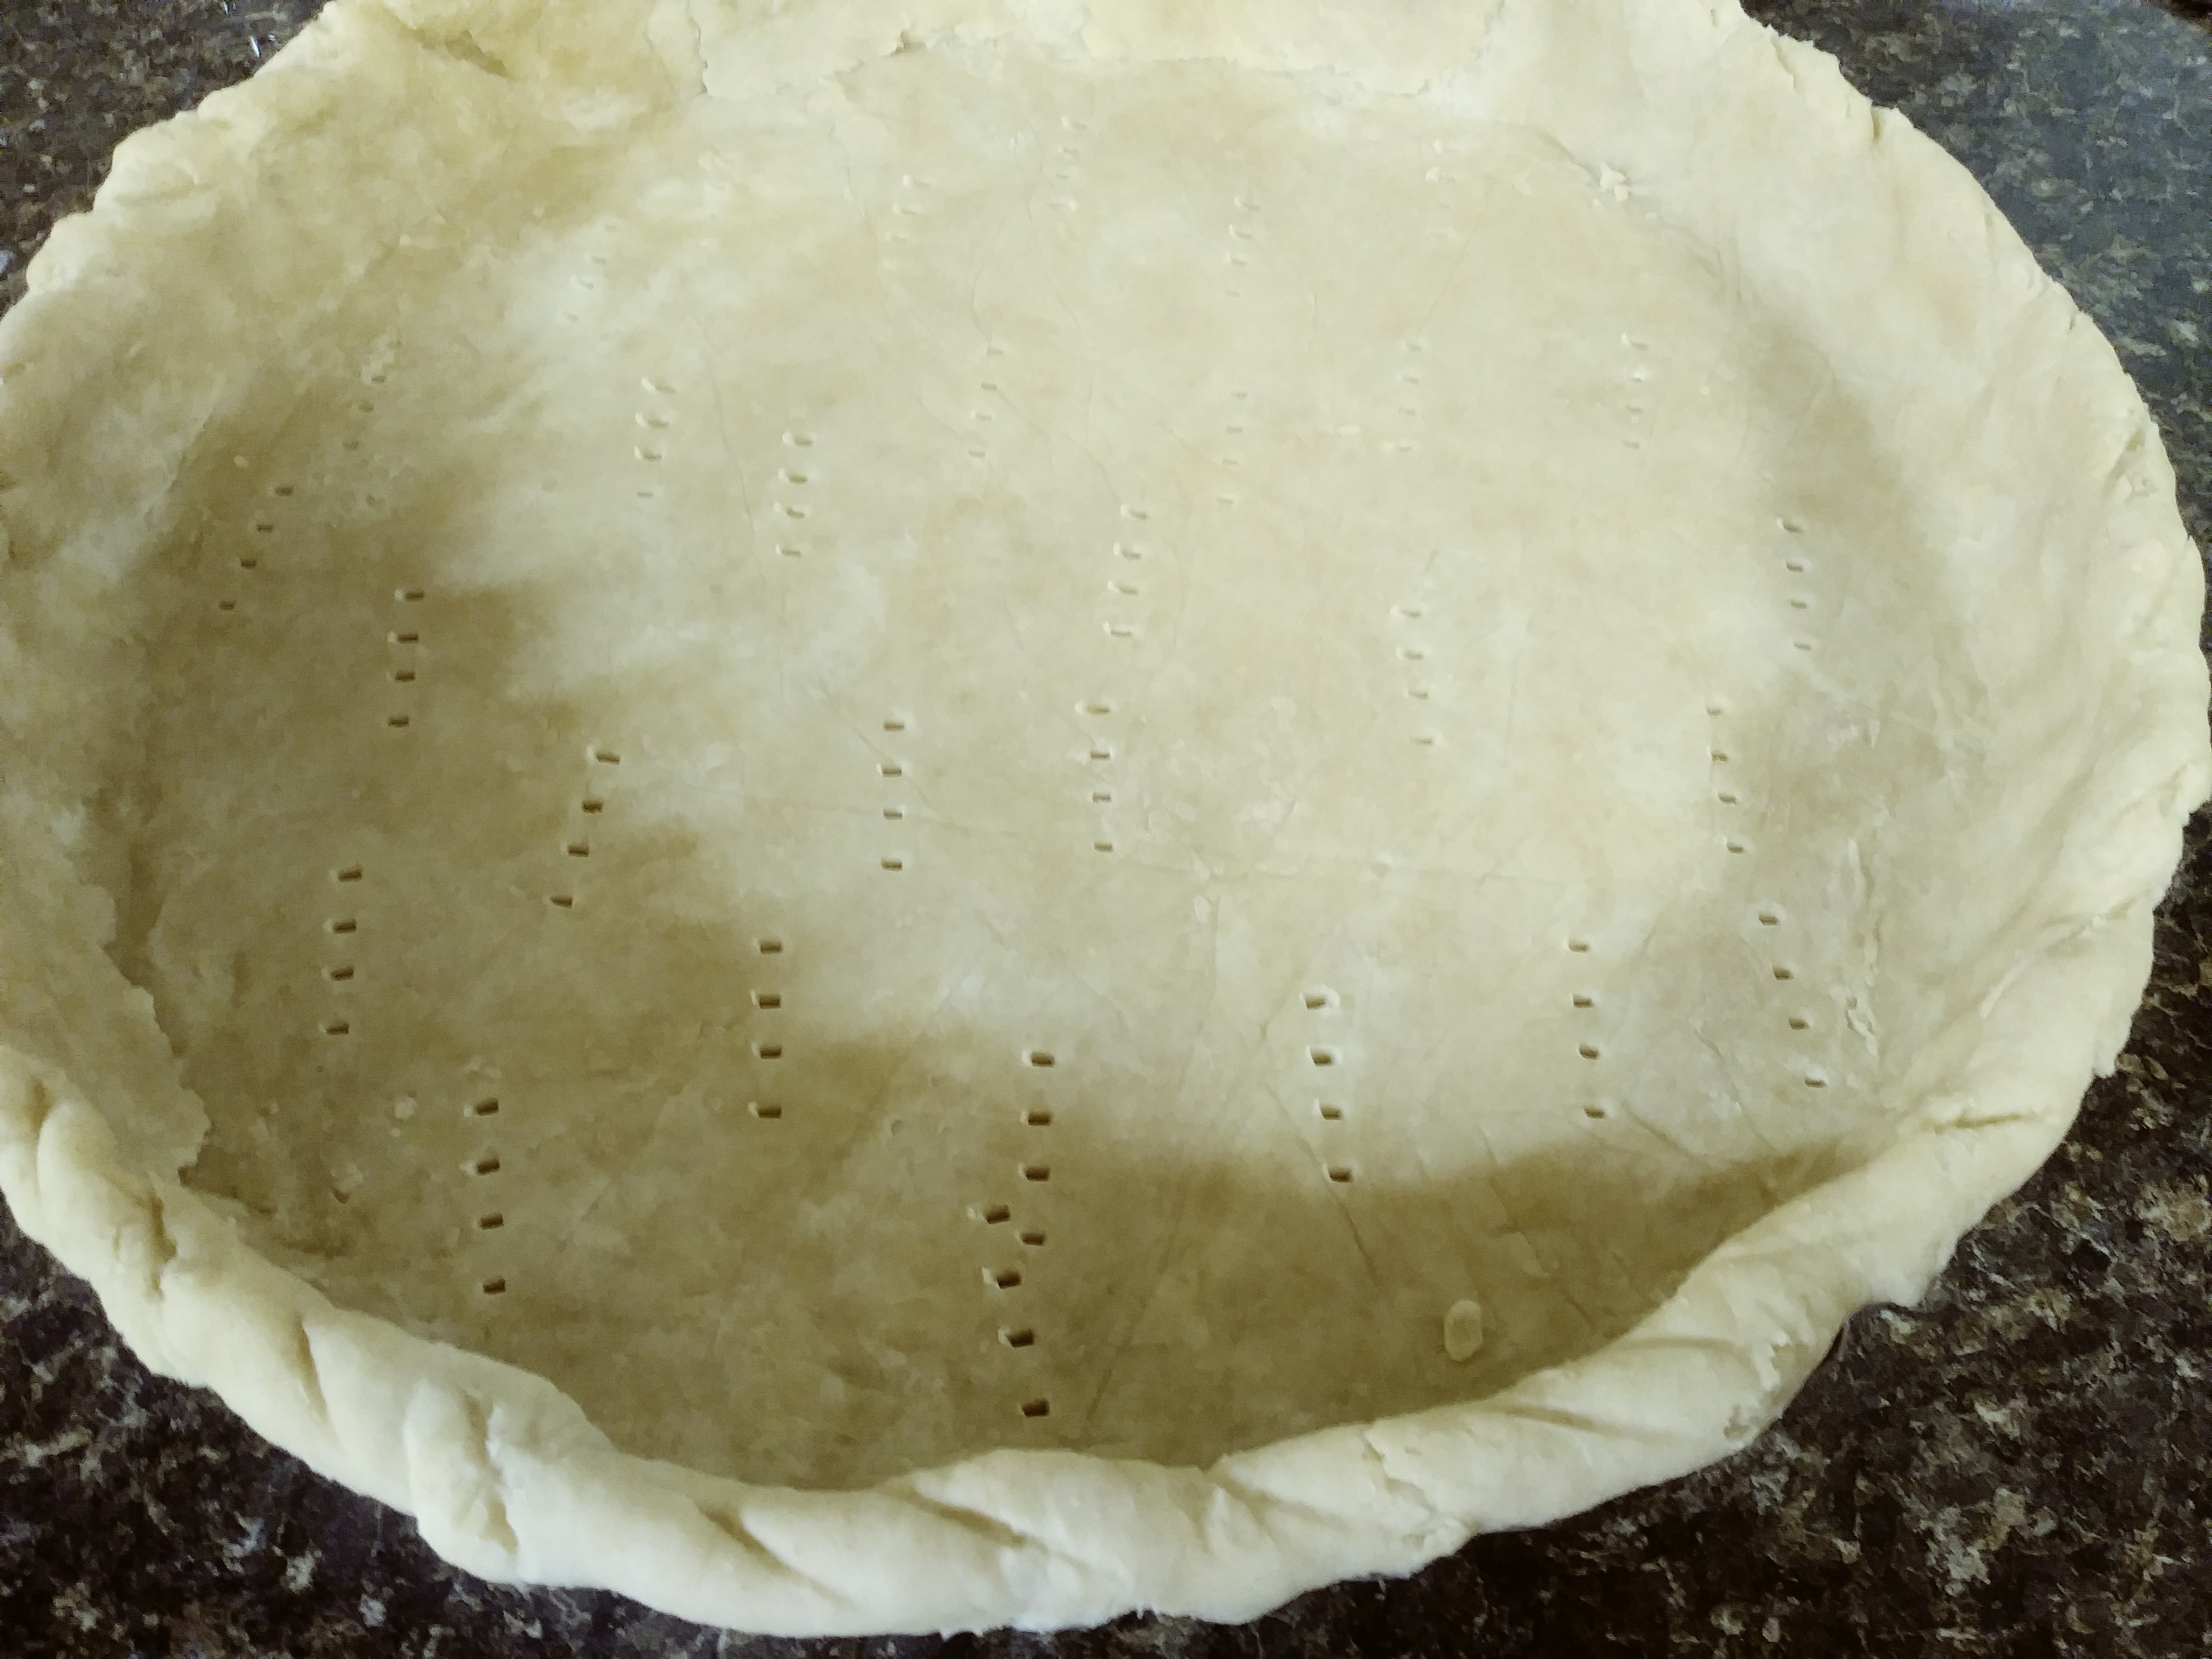
I had wonderful blueberries. I had pie crust already made. I knew it would be tricky to combine them with frangipane in a tart the way I wanted to, but decided to proceed nonetheless. Frangipane is a sweet filling made from almonds, butter and eggs, and it’s one of my favorite treats. It must be baked, and it really needs to be exposed to the heat (not buried deep in a pie) in order to puff up and brown a little. I did everything right in this recipe, almost. I made sure to blind bake my crust.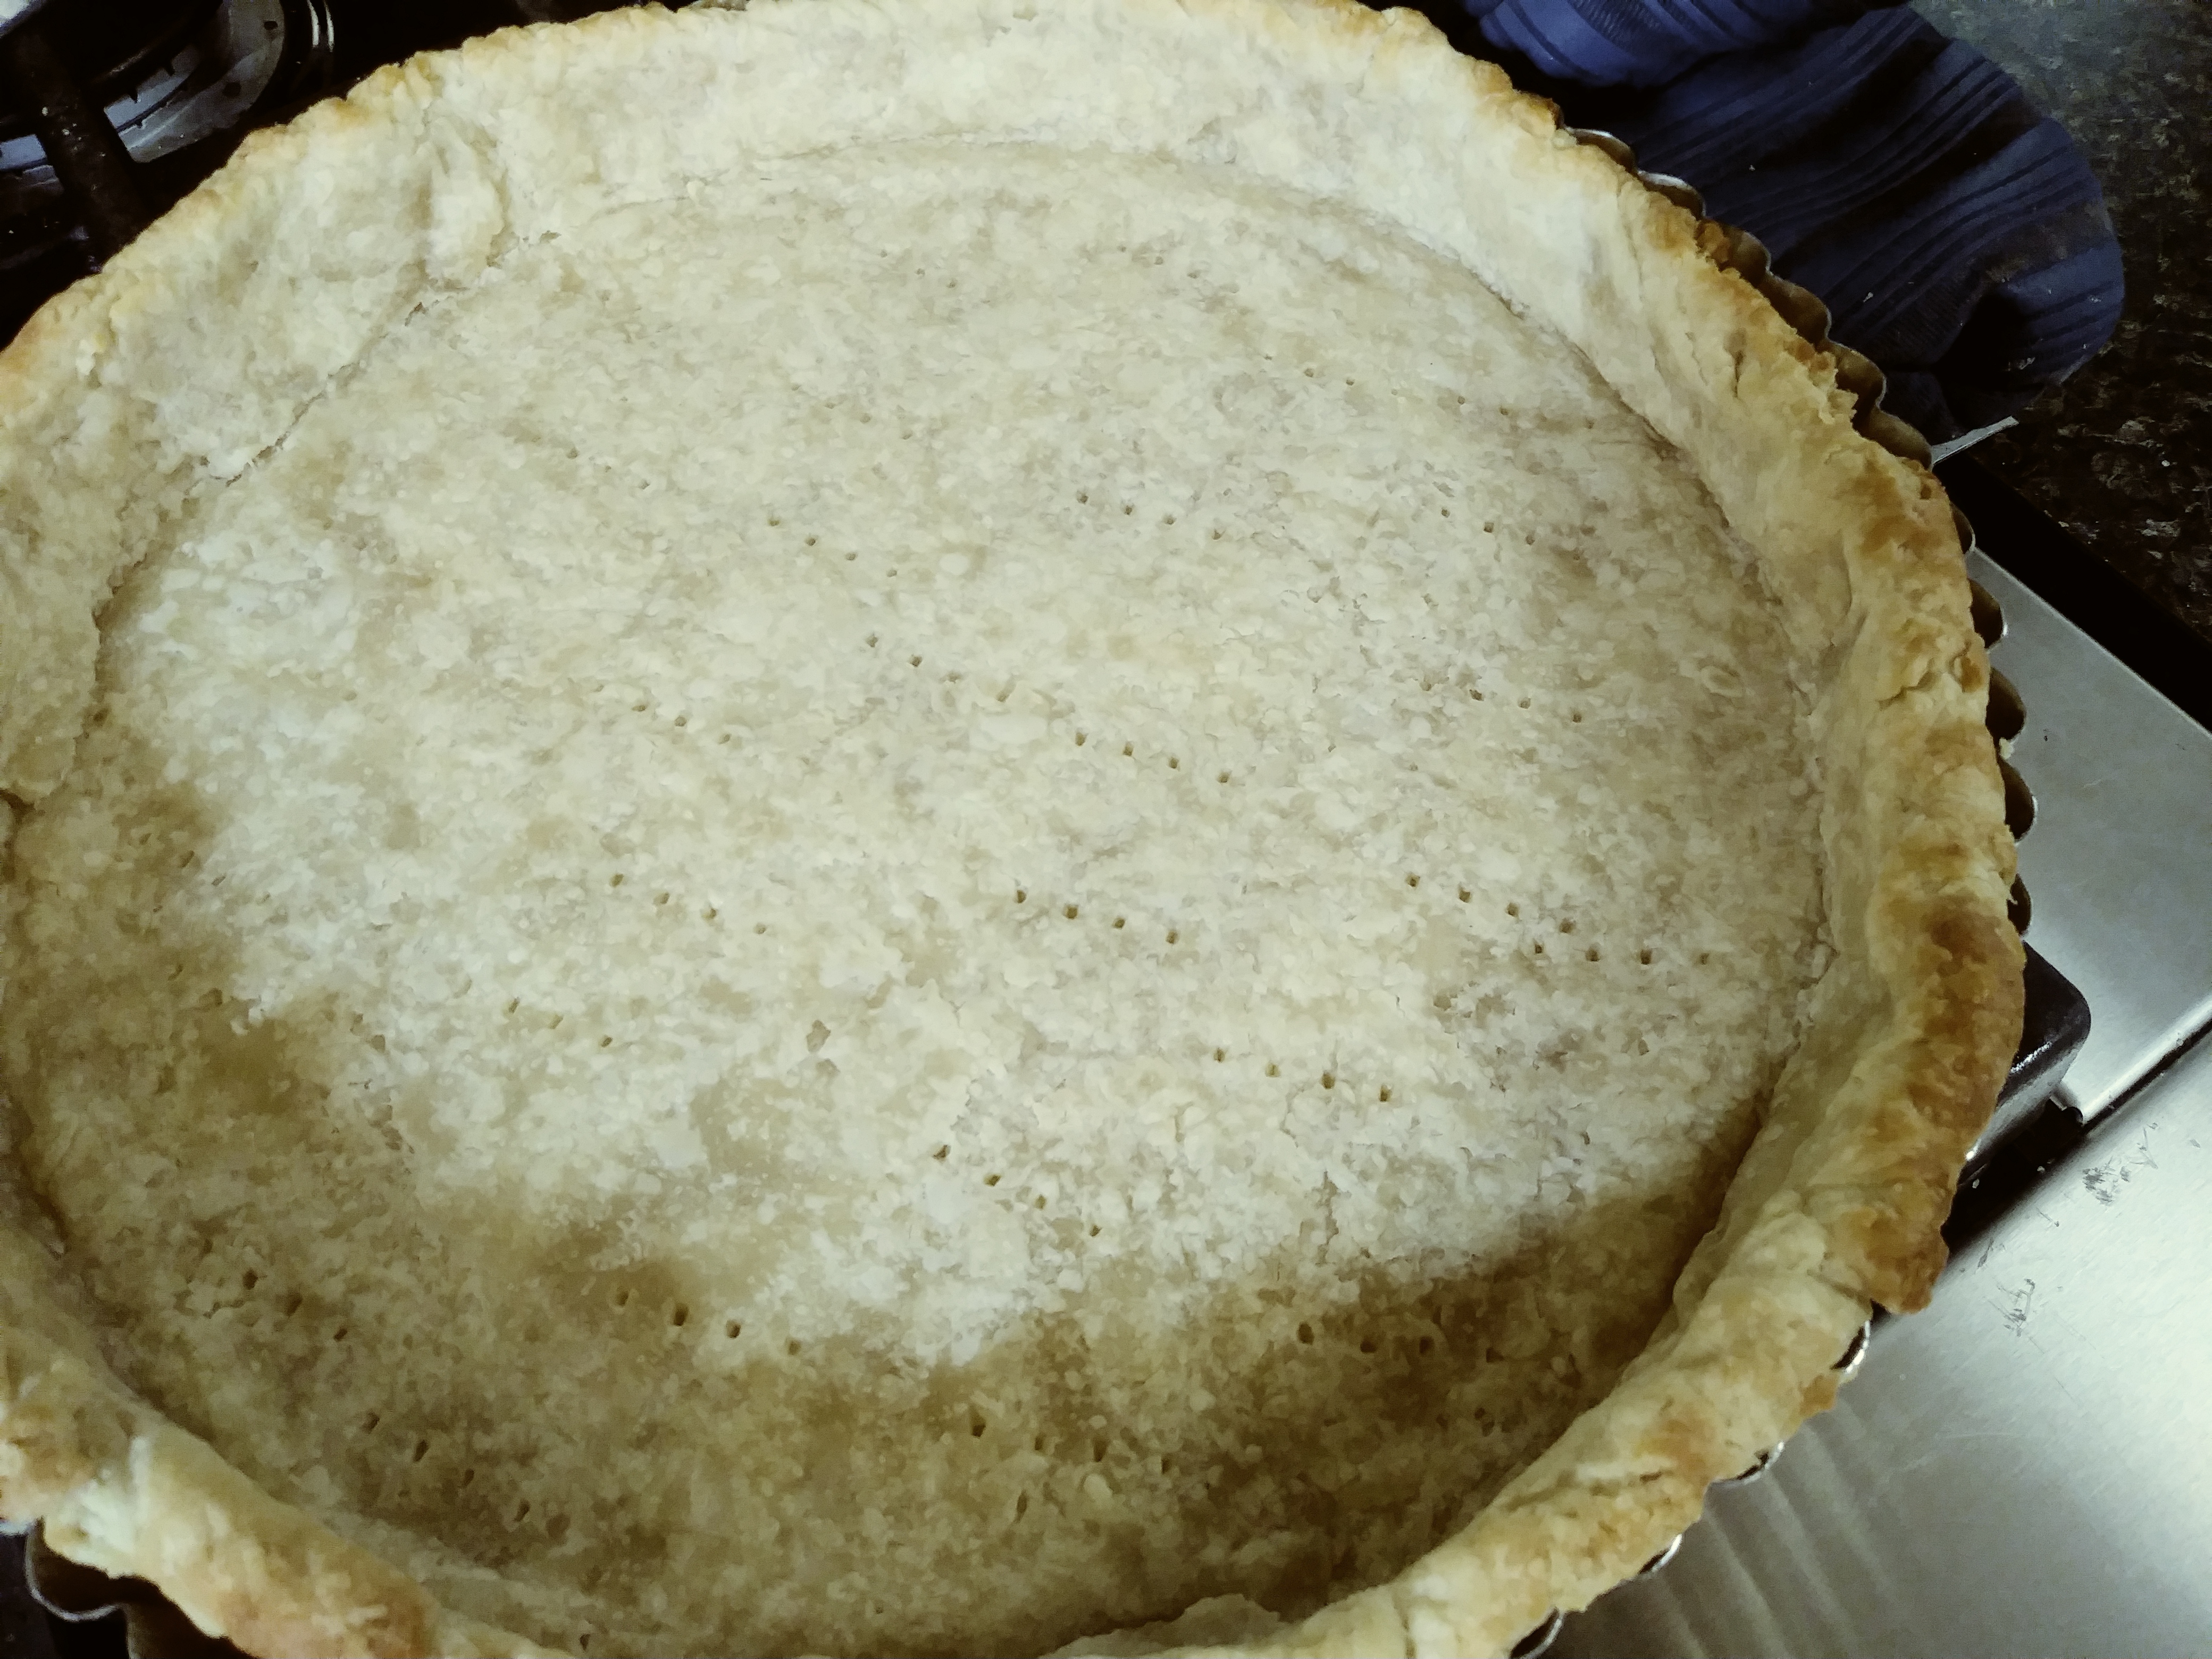
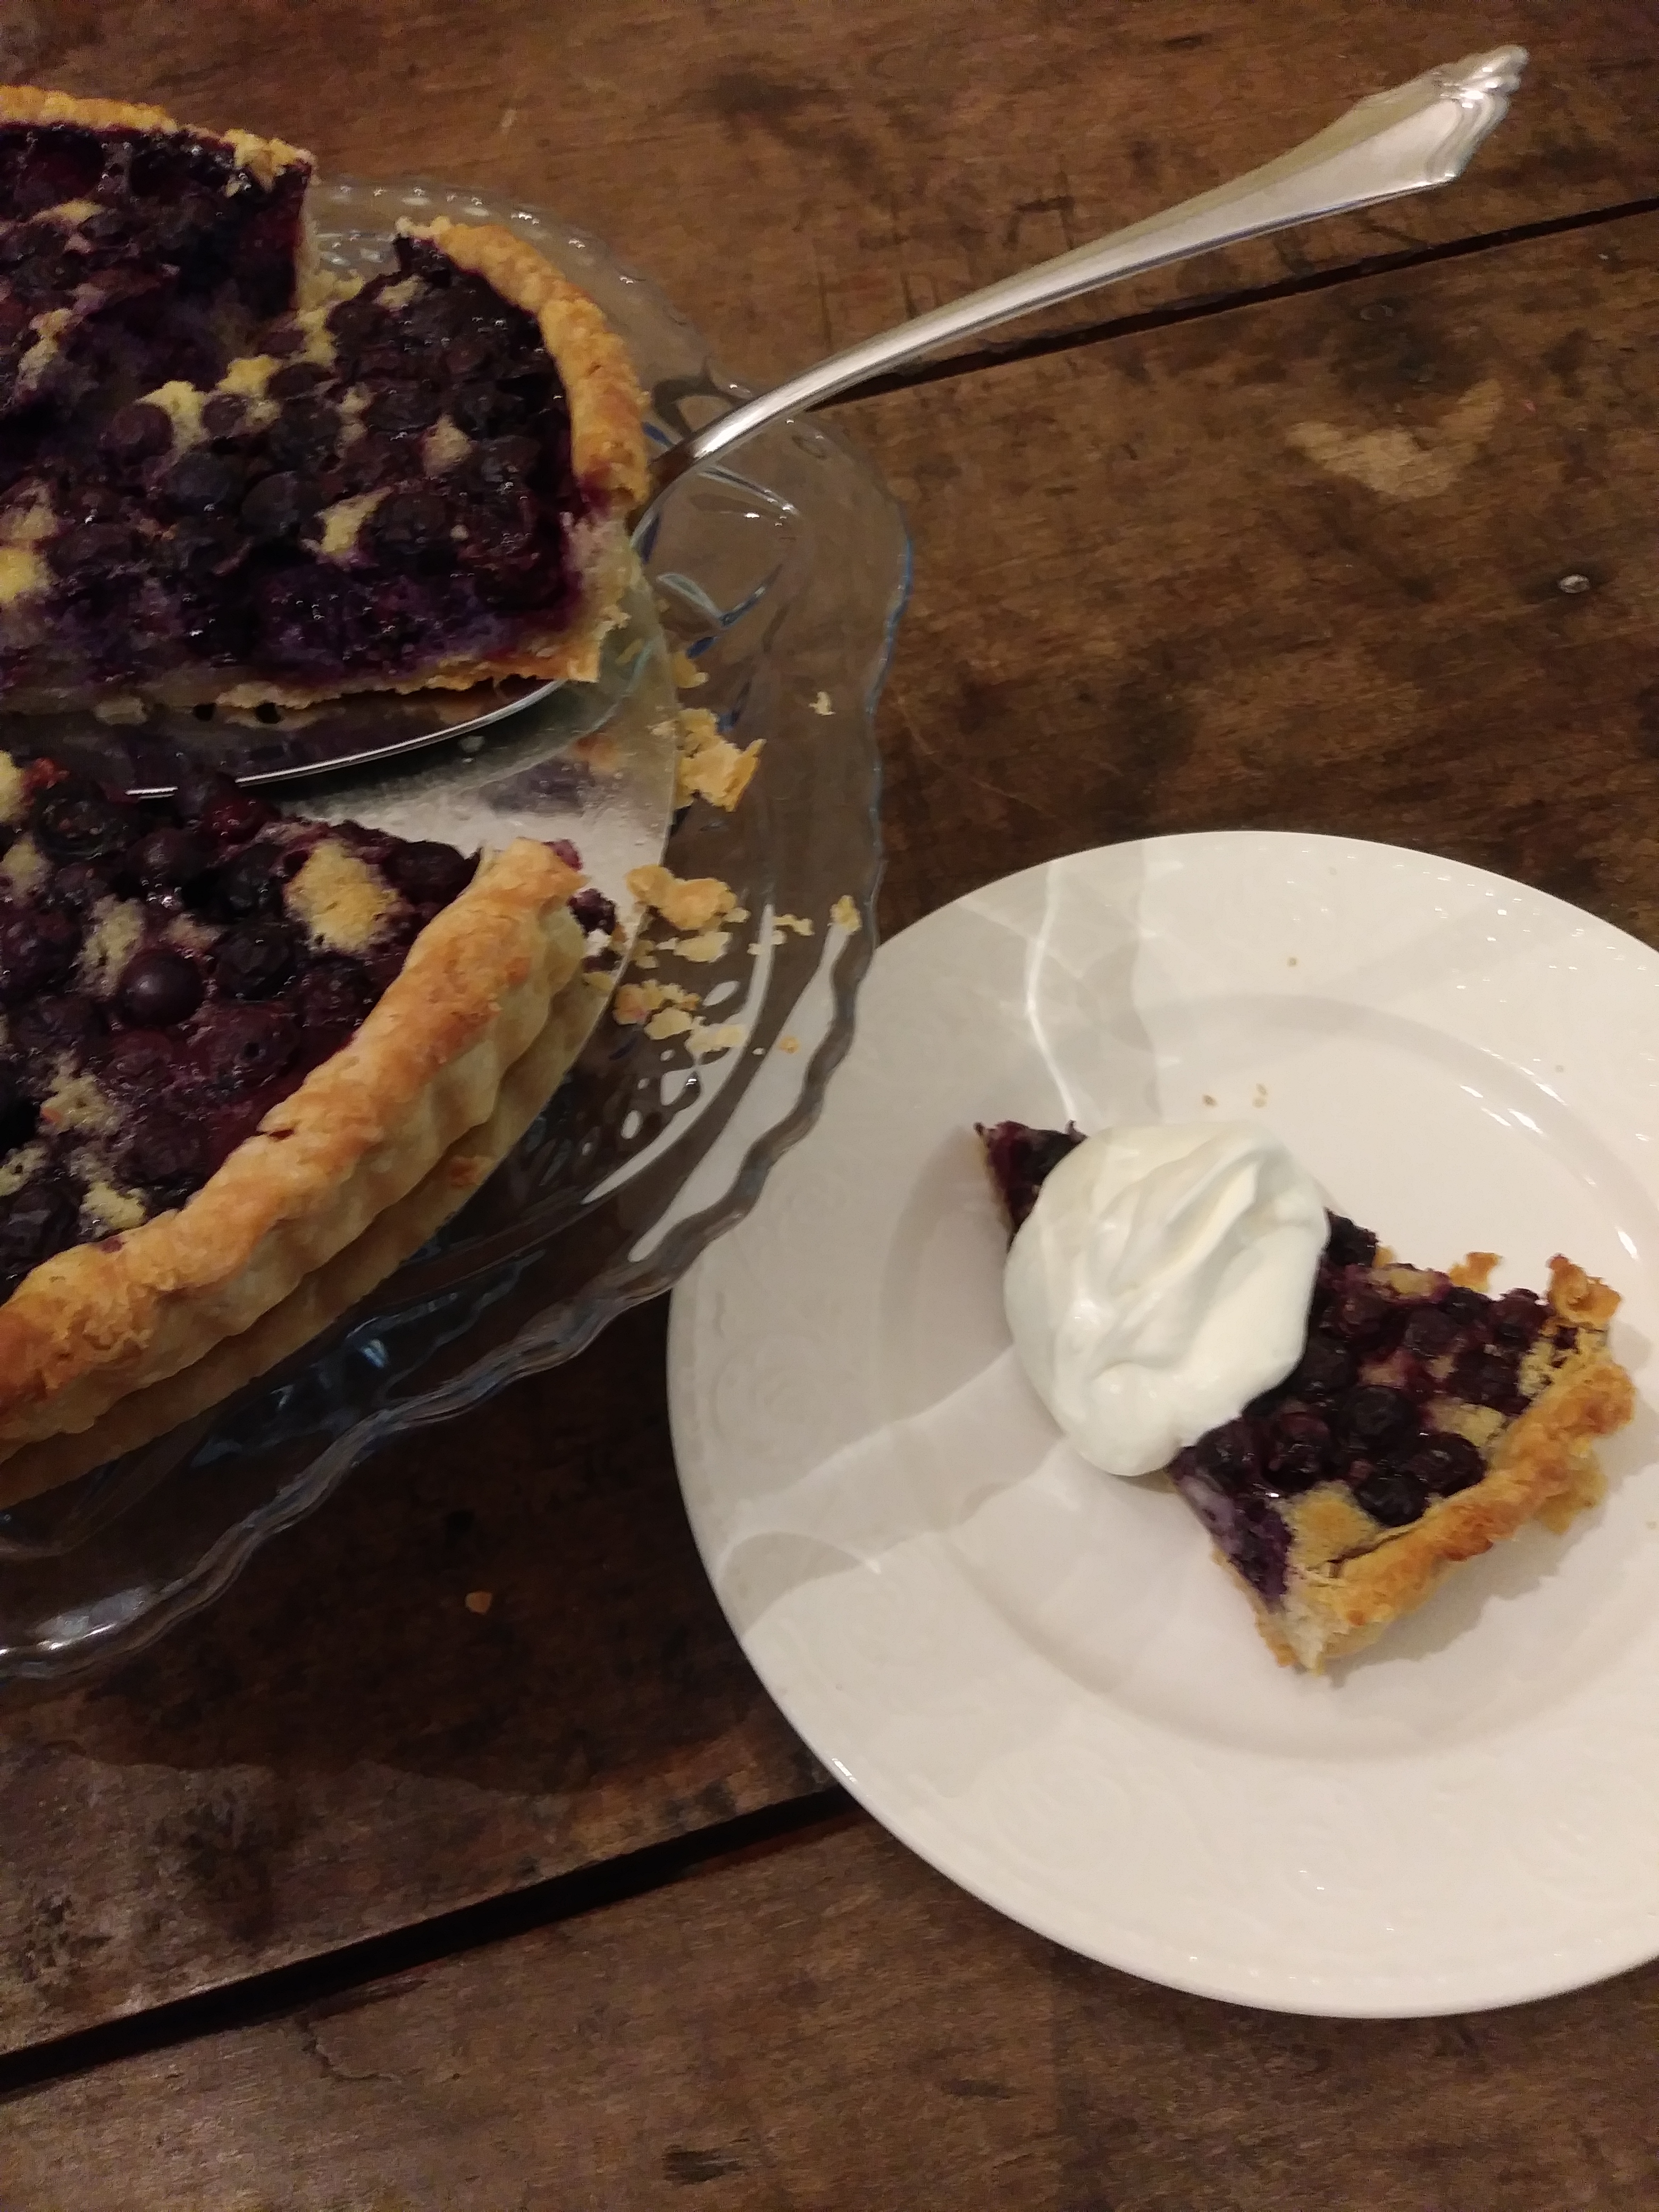
I didn’t cover the frangipane completely with blueberries. I baked until bubbly in the center. However,…. it needed 5 more minutes! The edges were perfect with crisp and flaky crust, but the center was not. 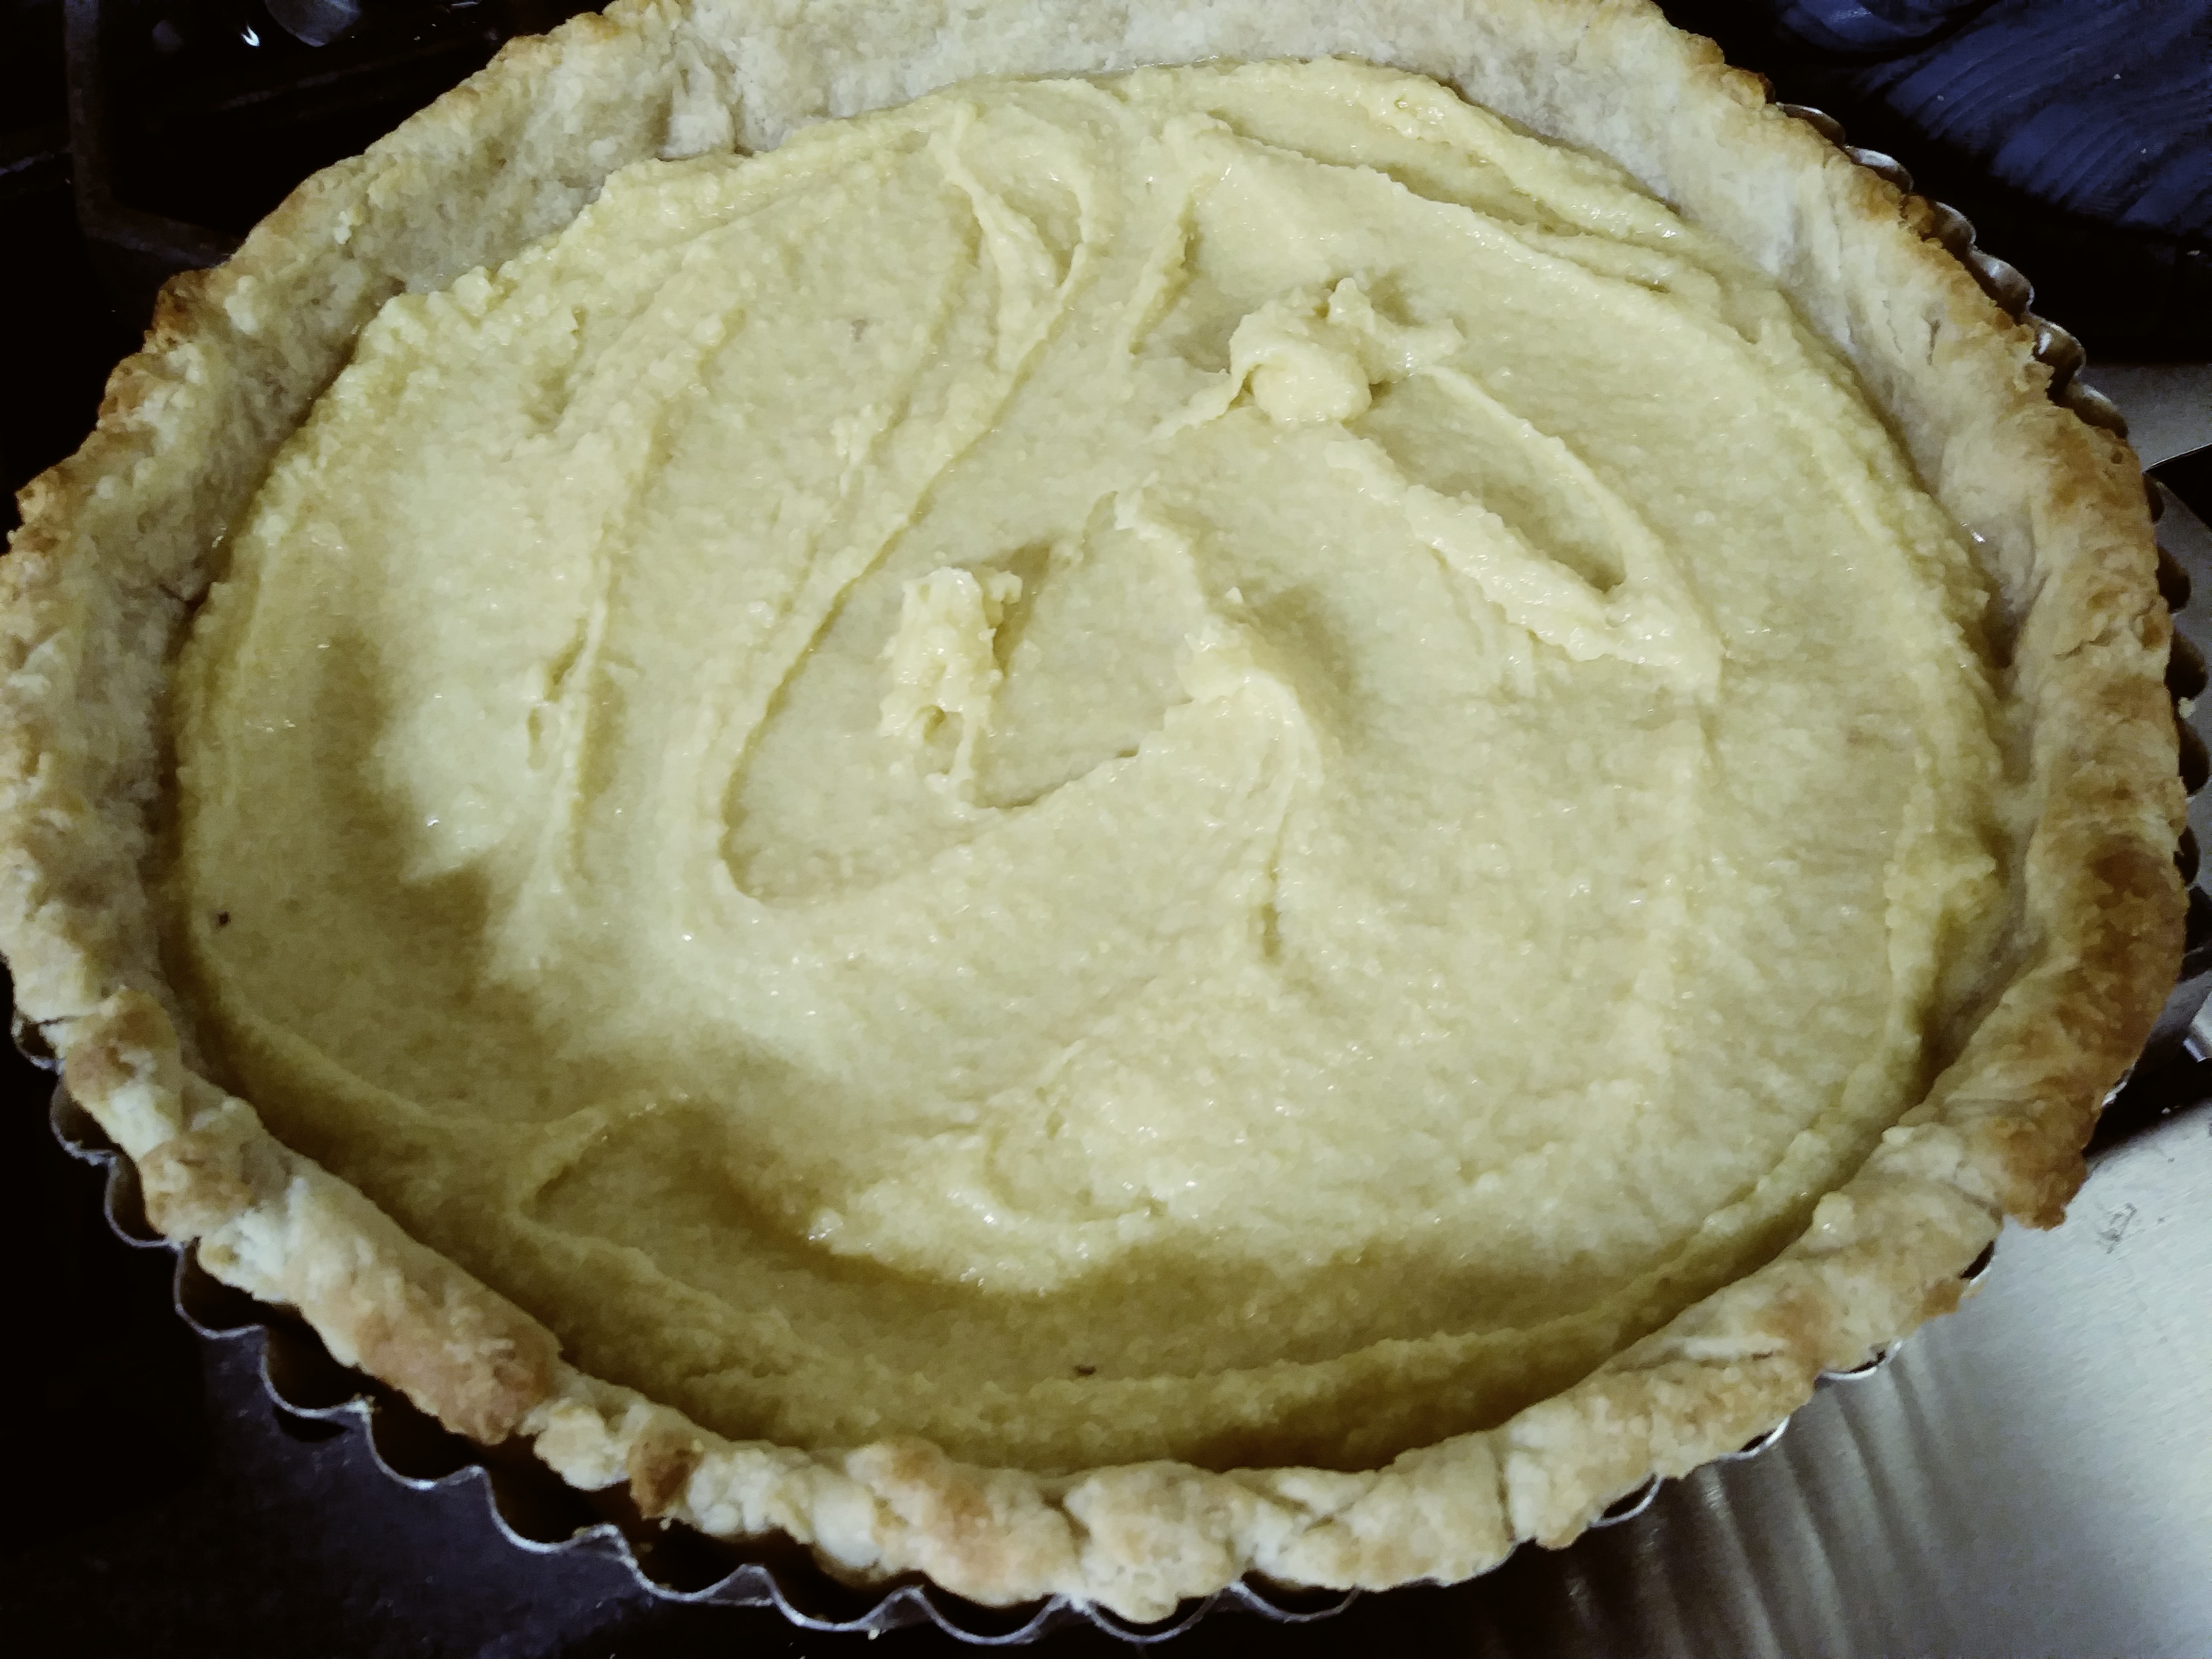
If I make this again, I think I’ll put the frangipane on top of the blueberries and let the berries peek through instead of vice – versa. At any rate, my husband LOVED this tart and said the amount of sweetness was just right. Served with lightly sweetened whipped cream, it really was good despite it’s imperfection.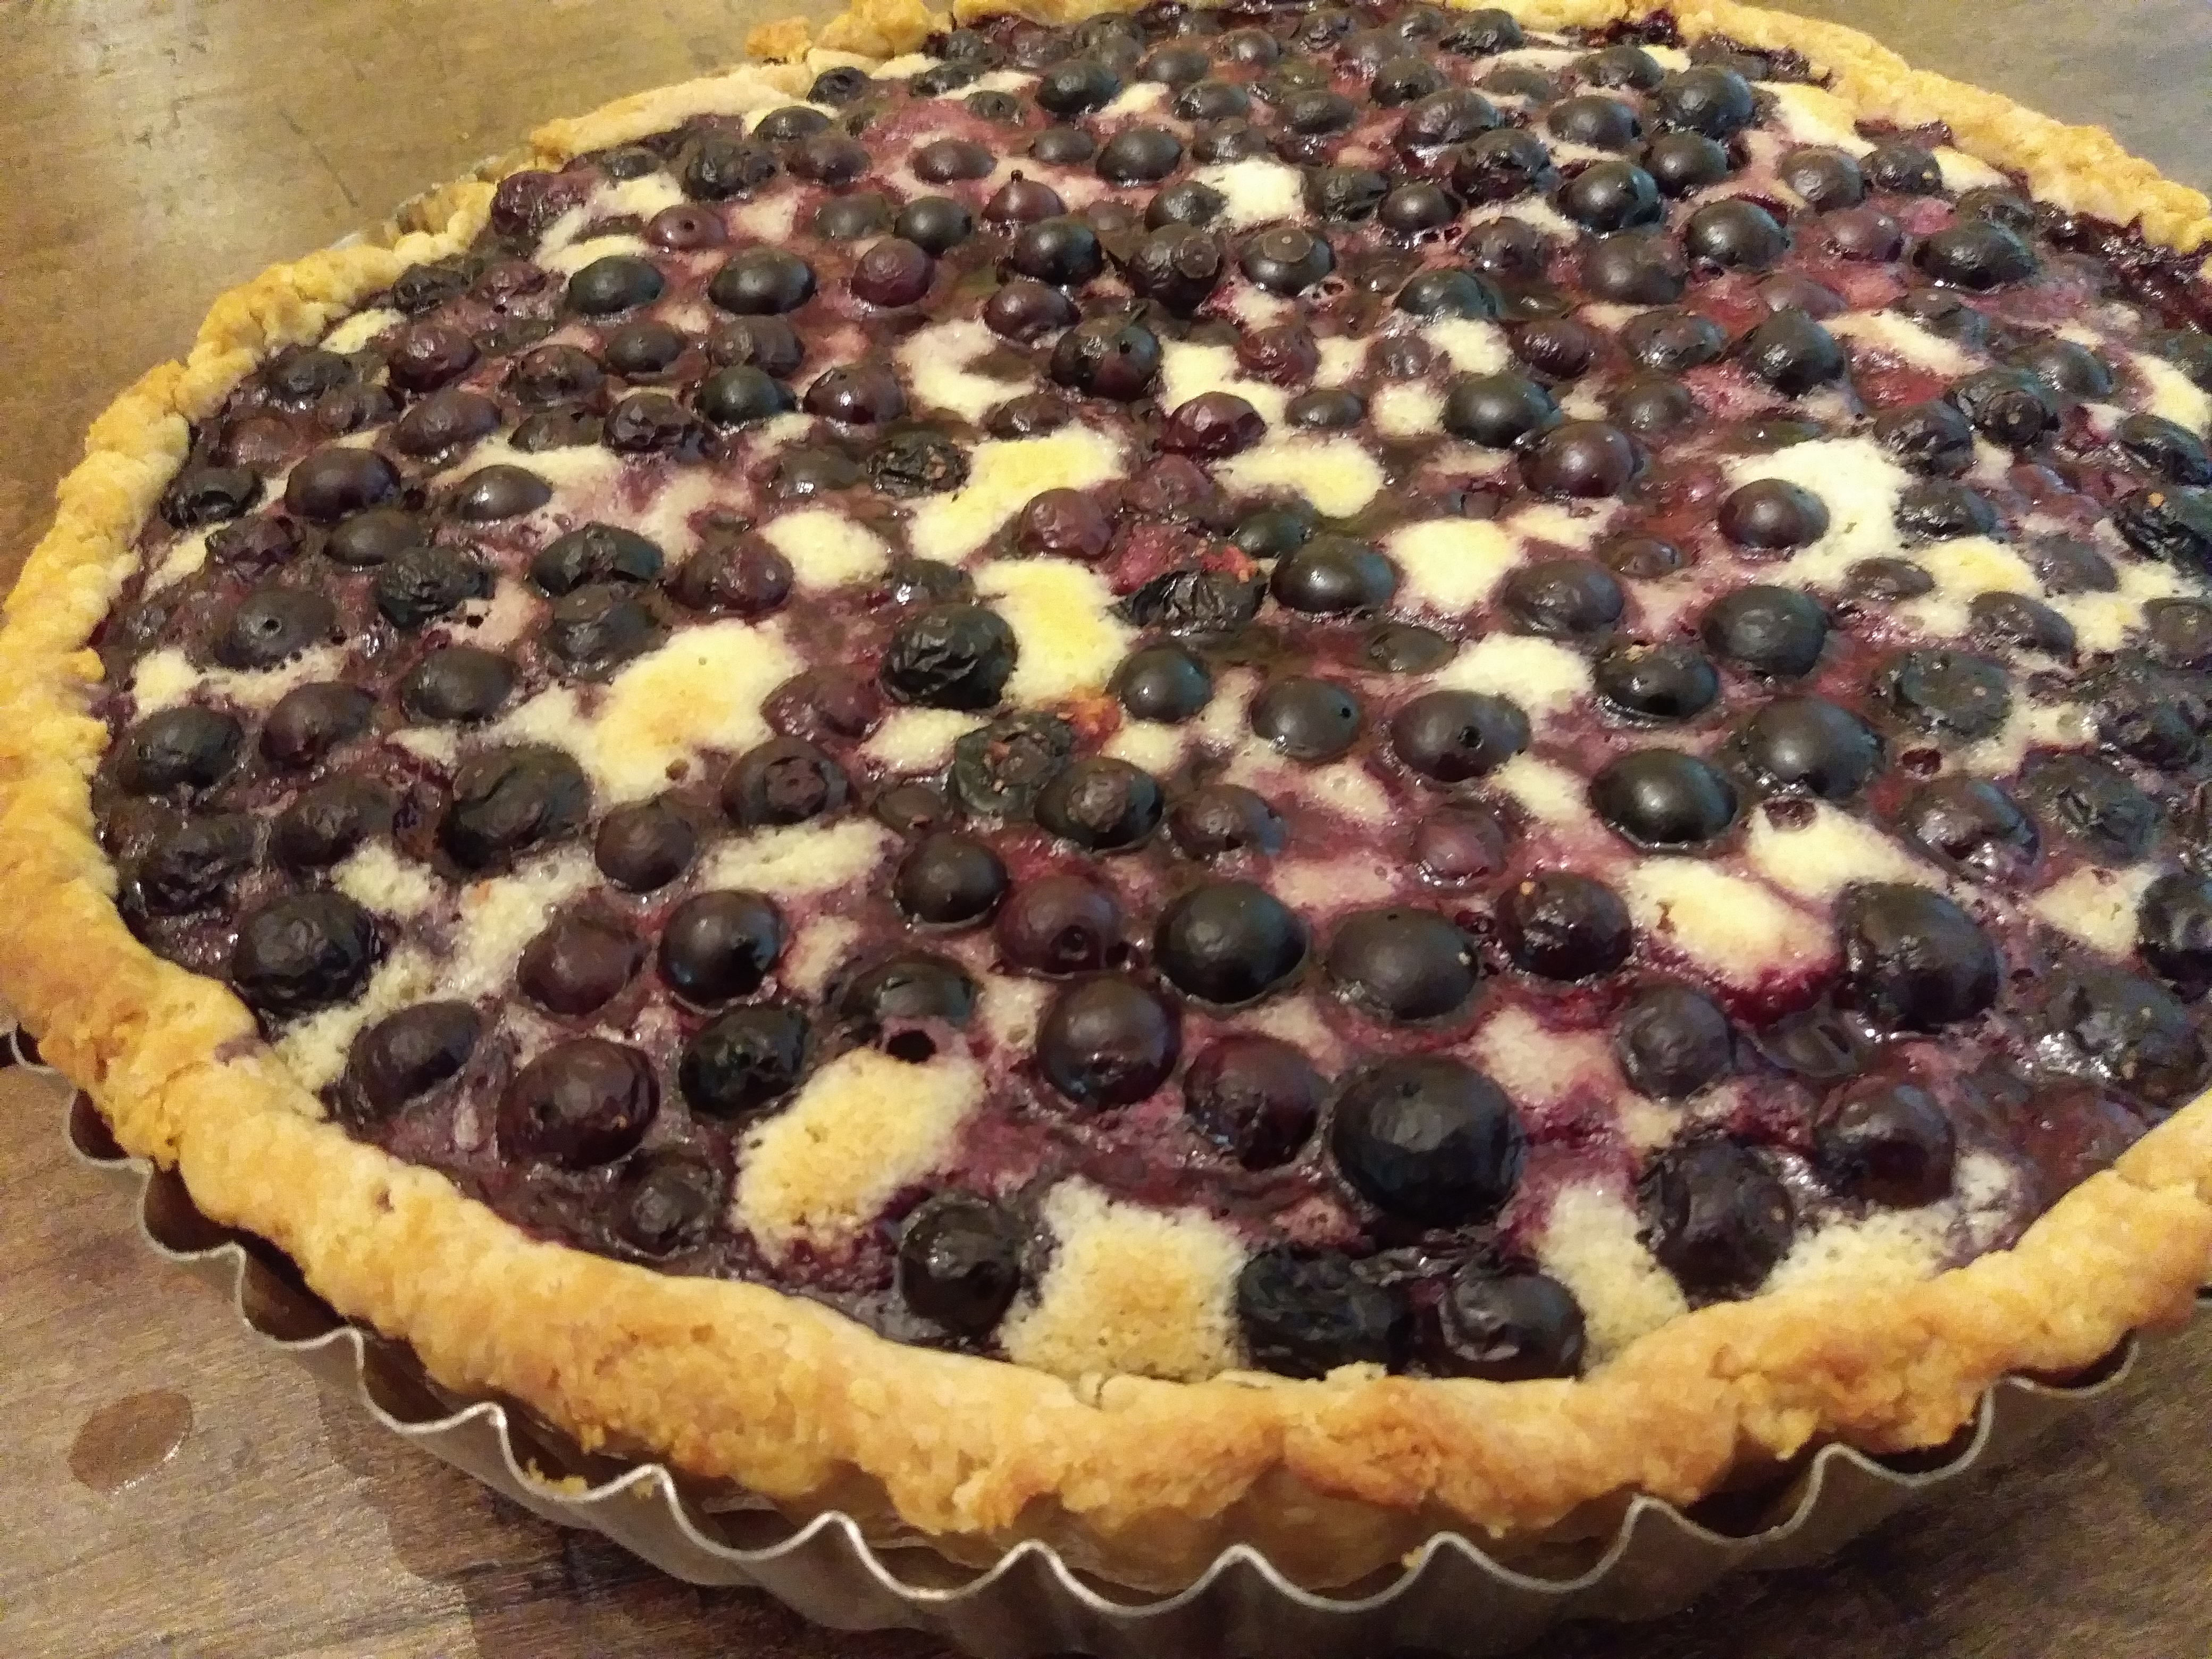
Blueberry Frangipane Tart
Adapted from The New York Times Cooking
1 pie crust – Here’s an old post with a recipe you can use.
2 cups fresh or frozen blueberries
1/2 cup ground almonds (almond flour)
2 teaspoons all purpose flour
1/4 cup sugar
1/2 stick butter
1 egg
1/2 teaspoon almond extract
- Roll out the dough, chill and blind bake. For more information about blind baking click here.
- Mix the almond flour, all purpose flour, sugar, almond extract, egg and butter really well. Spread into the pre-baked shell.
- Place the blueberries on top, making sure to leave some frangipane filling peaking through.
- Bake at 375 F for 35 to 40 minutes on the bottom rack of the oven. If the crust becomes too dark around the edges, cover with a ring of foil and continue baking.
- Allow to cool at least an hour before slicing.
- YUM!
Here’s an old post about the first time I made a Pear Frangipane Tart.